Fire-Ready Forest Bracelet Activity
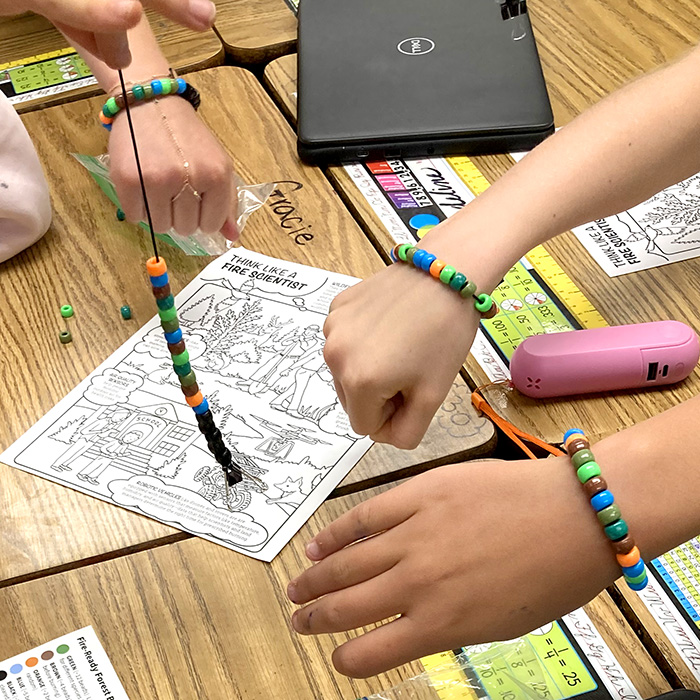
Students use bead ratios to model a forest prepared for prescribed fire and learn about fire breaks, fuels, and fire crews.
Resources
- Educator guide (PDF download of this web page content)
- Bracelet bead key (PDF to print double-sided in color and cut individual key cards for students to take home)
- We recommend introducing the concept of wildfires and prescribed fires in advance, using our Think Like a Fire Scientist video and/or Think Like a Fire Scientist activity page.
Background
This bracelet-making activity uses a simple model to represent a forest prepared for a prescribed fire. Each bead color represents an important part of the system, including living vegetation, dry vegetation, prescribed fire, fire breaks, and the land managers who plan and oversee the burn. Students follow a specific bead recipe to create their bracelets, introducing the concept of ratios as they compare the proportions of different forest elements. Through the activity, students learn how prescribed fires are carefully planned and managed to maintain healthy forests and reduce the risk of severe wildfires.
Learning Objectives
Students will:
- Distinguish between a wildfire and a prescribed fire.
- Identify the roles of vegetation, fire breaks, and land managers during a prescribed fire.
- Model a forest prepared for prescribed fire using a bead bracelet.
- Use counting and ratios to compare the relative amounts of different forest elements represented in the bracelet.
- Explain how prescribed fire can help maintain healthy forest ecosystems and reduce the risk of severe wildfires.
Materials
- Pipe cleaners (K–2) or elastic cord (Grades 3+): One pipe cleaner or one 9–10″ piece of elastic cord per student, plus extras.
- Plastic pony beads in:
- Green (living plants; multiple shades optional to represent different types of vegetation)
- Brown (dead or dry vegetation)
- Orange (prescribed fire)
- Blue (land managers and fire crews)
- Black (fire breaks, such as roads, rivers, or cleared areas)
For each bracelet, provide approximately 28 beads total:
-
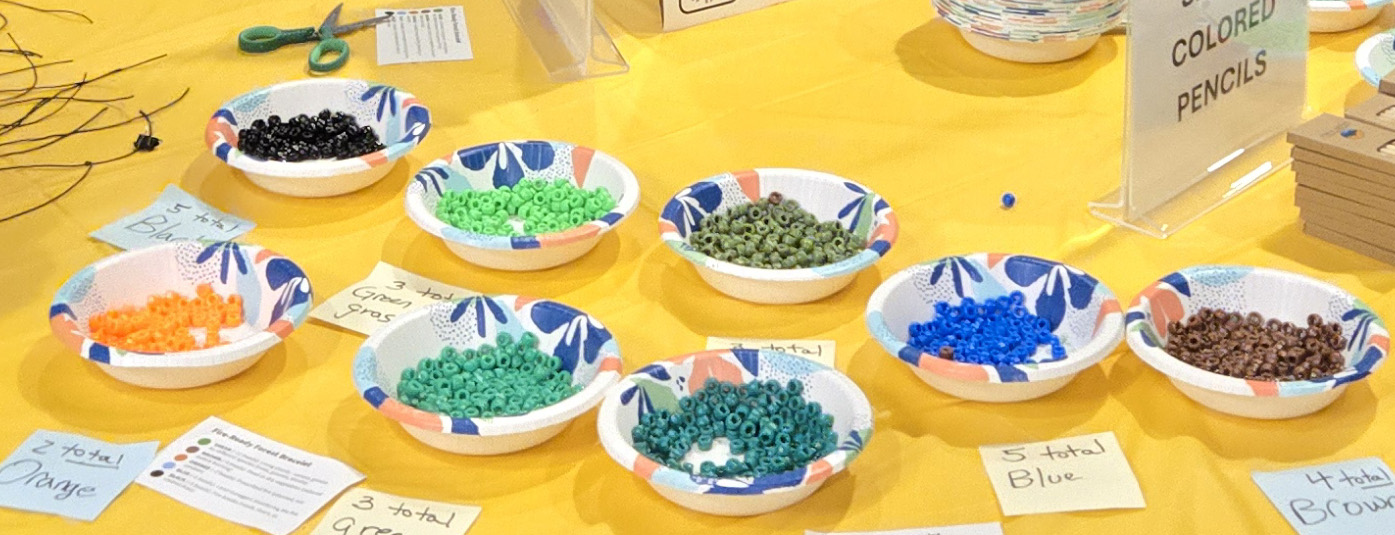
- 12 green
- 4 brown
- 2 orange
- 5 blue
- 5 black
Include extra beads to accommodate different bracelet sizes, student preferences, and dropped beads.
- Small binder clips: One per student (to help secure the bracelet while beading).
- Scissors: One pair per instructor and assistants–for trimming excess elastic cord after tying.
NOTE: It is very helpful to preassemble small baggies for each student containing the 28 beads in the correct color ratios, a bead bracelet key, piece of elastic, and binder clip. If this isn’t possible, hand out string, binder clips, and bracelet key cards, then arrange students around tables with beads in small bowls by color.
Optional Teaching Materials
- “Fire-Ready Forest” bead key or poster showing what each bead color represents.
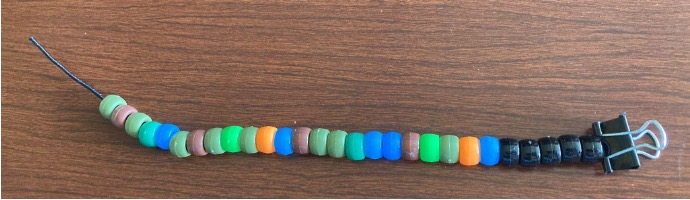
- Example completed bracelet (although, let them know that variations are good, if they are following guidelines, e.g., not putting all the brown/dead wood together)
- Photos, illustrations, and/or video of a prescribed fire, fire break, land managers, and a forest prepared for prescribed fire.
Instructor question prompts
“Who has heard of a wildfire?”
“Has anyone ever smelled wildfire smoke?”
“A wildfire is a fire that isn’t planned. Sometimes forests can get crowded with dry grass, dead branches, and lots of small trees. When a fire starts in those conditions, it can become very large and dangerous.”
“Has anyone ever had a doctor write a prescription?”
“A doctor gives a prescription when they think it will help someone get healthier. In a similar way, fire experts and land managers sometimes ‘prescribe’ a fire for a forest. They carefully study the area and decide where, when, and how a fire can help keep the forest healthy.”
“A prescribed fire is different from a wildfire because trained adults plan it very carefully and only use it when the weather and conditions are safe. Prescribed fires can clean up extra dead plants, help new plants grow, and reduce the risk of bigger wildfires later.”
“We’re going to build a bracelet that represents a forest that’s ready for a prescribed fire.”
Vocabulary
- Wildfire: An unplanned, unwanted, and uncontrolled fire that burns outdoors.
- Prescribed Burn (or Prescribed Fire): A planned fire intentionally set by experts under specific weather conditions to achieve ecological or safety goals.
- Burn (or Fire) Management Team: Trained experts with the knowledge, tools, and safety gear required to plan and manage a safe prescribed fire.
- Fuel: Any burnable material, especially dry vegetation, leaves, and dead wood.
- Firebreak: A strip of land—such as a road, river, or bulldozer path—cleared of all vegetation. Lacking fuel, it acts as a barrier to stop a fire from spreading.
Bracelet-making steps
- Hand out bracelet baggies: Tell students not to open the bag until further instruction.
- Unpack the bead color key: Mentors may pull out the small sheet of paper containing the bead color key and lay it on the table.
- Read the bead color key: Read the sheet with students to learn what each bead color represents.
- Strategize: Before touching the string, discuss how to arrange the beads to simulate the forest conditions during a real, safe prescribed fire. Ask your students these questions:
- The Firebreak: How will we arrange the beads to ensure the firebreak is “unbreakable” so the fire doesn’t jump across it?
- The Fuel: Why should we avoid putting multiple brown beads (dead wood/vegetation) right next to each other? What happens to the flames if there is too much dead wood?
- The Layout: How is the green vegetation naturally growing (different shades of green represent different plant types)? Are all the burn managers in one spot, or are they spread out?
Build the Bracelet
-
- Prep your string (students): Take the string and the binder clip out of the bag. (Leave the loose beads inside the bag for now)
- Create the landing pad (students): Attach the binder clip firmly to one end of the string (if it isn’t already). This acts as the “landing pad,” so the beads don’t slide off the bottom.
- String the firebreak (students): Open the bag of beads. Carefully slide the beads onto the string one by one, beginning with the 5 black beads.

- Ask for help (students): Once all the beads are on the string, students will notify instructors they are done.
- Tie it off (instructor): Wrap the string around the child’s wrist, tie it securely using at least two knots.
- Trim the excess (optional, instructor): Carefully trim any extra dangling string with scissors.
Example (there are many ways to set up the bracelet successfully, this is just ONE idea).